0. 软硬环境
- 系统:manjaro(内核6.1.44)
- 鼠标:mx anywhere 2s
- 无蓝牙
1. 通过优联连接鼠标与主机
这里需要下载solaar包来进行连接。
yay -S solaar
Solaar 是许多罗技键盘、鼠标和触控板的 Linux 管理器,可无线连接到 USB Unifying、Bolt、Lightspeed 或 Nano 接收器; 通过 USB 线直接连接; 或通过蓝牙连接。 Solar 不能与其他公司的外围设备配合使用。
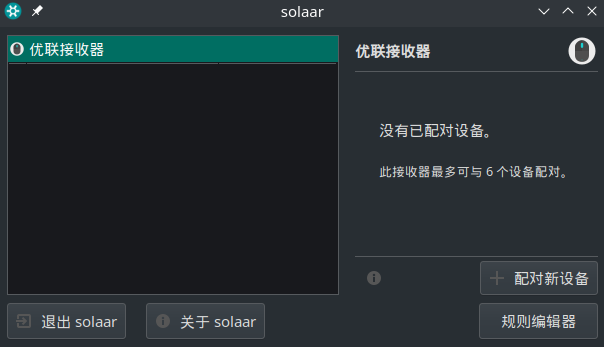
安装完成之后,打开solaar,将有如下ui界面出现,按步骤连接鼠标即可。

2. 设置鼠标按键
我的鼠标mx anywhere 2s上有一些按键,如果只用solaar连接到电脑,这些按键可能并不能发挥它的作用,因此我们需要将这些按键和快捷键进行绑定。 这里使用logiops
安装:
yay -S logiops
配置:
sudo vim /etc/logid.cfg
在logid.cfg中添加如下内容:
devices: ({
  name: "Wireless Mobile Mouse MX Anywhere 2";

  // A lower threshold number makes the wheel switch to free-spin mode
  // quicker when scrolling fast.
  #smartshift: { on: true; threshold: 20; };

  #hiresscroll: { hires: true; invert: false; target: false; };

  // Higher numbers make the mouse more sensitive (cursor moves faster),
  // 4000 max for MX Master 3.
  dpi: 1200;

  buttons: (

    // Make thumb button 10.
    	{
            # Next tab instead of fwd in history, Comment to default behavior
            cid: 0x52;
            action =
            {
                type :  "Keypress";
                keys: ["KEY_LEFTCTRL", "KEY_LEFTSHIFT", "KEY_W"];
            };
        },

        {
            # Next tab instead of fwd in history, Comment to default behavior
            cid: 0x53;
            action =
            {
                type :  "Keypress";
                keys: ["KEY_LEFTMETA", "KEY_LEFTALT", "KEY_LEFT"];
            };
        },
	{
            # Next tab instead of fwd in history, Comment to default behavior
            cid: 0x56;
            action =
            {
                type :  "Keypress";
                keys: ["KEY_LEFTMETA", "KEY_LEFTALT", "KEY_RIGHT"];
            };
        },
	{
            # Next tab instead of fwd in history, Comment to default behavior
            cid: 0x5b;
            action =
            {
                type :  "Keypress";
                keys: ["KEY_LEFTCTRL", "KEY_LEFTALT", "KEY_RIGHT"];
            };
        },
	{
            # Next tab instead of fwd in history, Comment to default behavior
            cid: 0x5d;
            action =
            {
                type :  "Keypress";
                keys: ["KEY_LEFTCTRL", "KEY_LEFTALT", "KEY_LEFT"];
            };
        },
  );
});
这里的cid字段代表鼠标按下后输出的键值,可以从https://github.com/PixlOne/logiops/wiki/CIDs这里查看鼠标按键与键值的对应关系。
有了键值,然后在keys中配置相应的按键组合,那么就可以将鼠标按键与快捷键进行绑定了。
logiops还有调节鼠标dpi和滚轮速度的功能。
Reference:
https://github.com/PixlOne/logiops/wiki/CIDs
https://wiki.archlinux.org/title/Logitech_MX_Master